Re-Clad
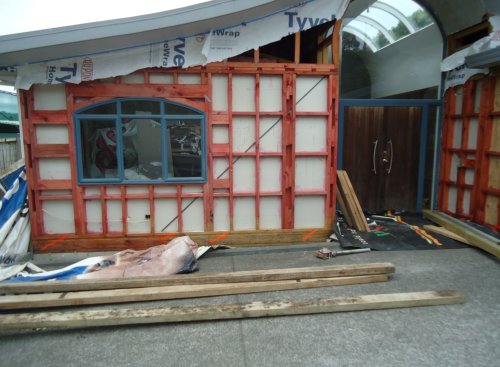 Stage1:
Monolithic cladding removed and timber treated with pro-tim solution. Exposed framing inspected by Council inspector and Independent building surveyor. Decayed timber marked up and cut out. Large PVC tarpaulins laid around complete site to gather debris and disposed of into skip before home become a dusty building site. Loose debris and dust vacuumed up with heavy duty industrial machines.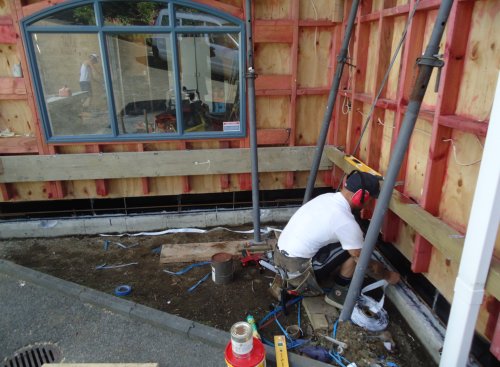 Stage: 2
At risk timber removed and structure supported prior to pouring concrete nib walls to overcome ground clearance issues. Lower ends of studs bolted to LVL beams to avoid damage to interior. Bitumous waterproofing membrane installed to back of gib board allowing concrete to be poured without contacting porous gib. Stainless screws fixed into rear of skirting to hold in position after concrete poured. Threaded rod stainless steel reinforcing starters drilled and epoxied into original slab. Slab scabbled and coated with Sika 32 to enhance bond between new and old concrete. Volclay strip run along center of nib to guard against water ingress through joint.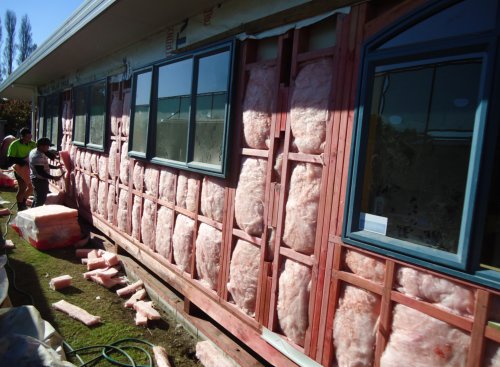 Stage 3:
Insulation installed. Window fixings cut using sabre saw and electric chisel to restrict damage within 10mm of window so damage can be concealed using architrave detail to window frames. Windows removed and mitre joints resealed, rubber beads replaced , reveals replaced with deeper timber to allow for extra thickness of weather boards on a cavity cladding system.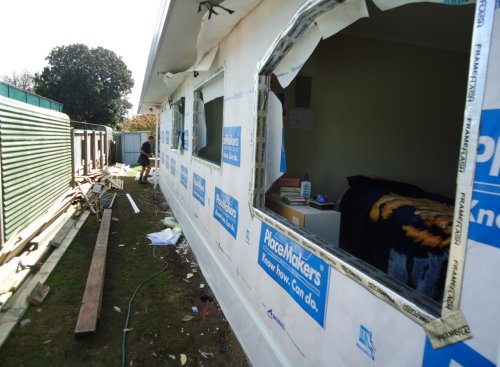 Stage 4:
Wrap on and window tapes installed. Ready for refurbished windows to be re-installed. Potential leak junctions like curved window heads detailed out with bitu-al draining within cavity. Vermin proof cavity strip installed ready for H3.2 cavity battens to be fixed with stainless steel nails over breathable building wrap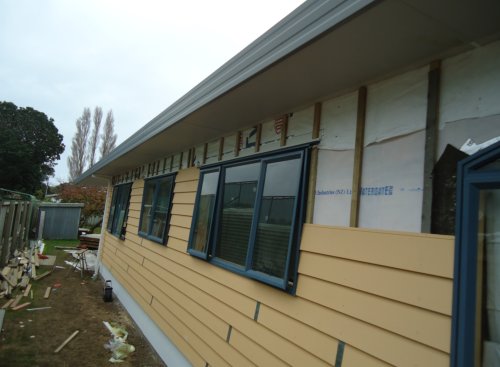 Stage 5:
Cavity system installed and weather boards going on. Bitu-al drain installed before head flashing detail installed. Base boards installed with ventilation to be cut in.
